
Layout
Design a four-panel brochure.
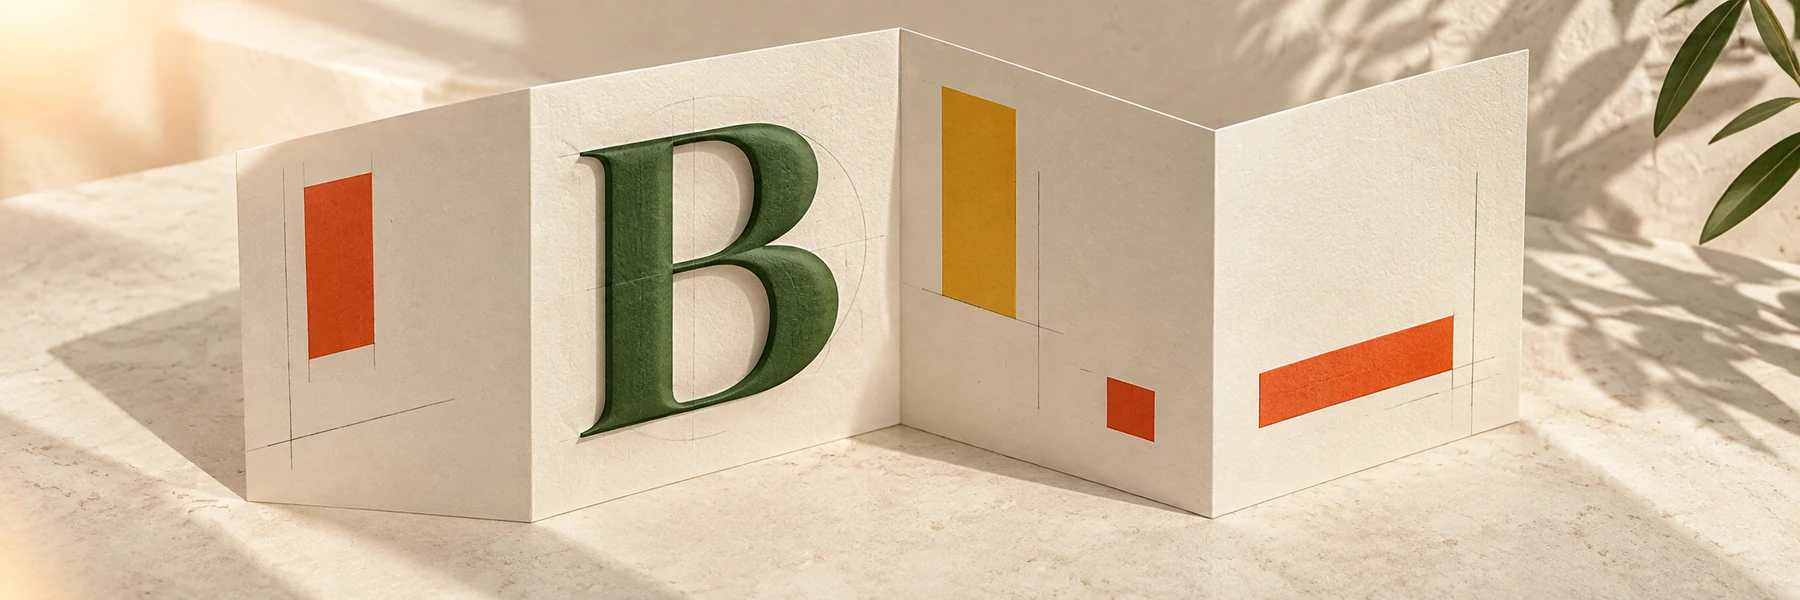
Fold a sheet once. You now have a front cover, a back cover, and two inside panels. Label them on paper before designing so the words and pictures appear in the right order.
Use the assignment’s size
The main assignment asks for a brochure that is 5.5 × 8.5 inches when folded, made from an 8.5 × 11 inch sheet. The older software walkthrough uses an A4 preset instead. Follow the assignment dimensions for your exercise. A4 and US Letter are different sizes.
The original assignment uses a 5.5 × 8.5 inch finished, folded brochure. Plan the outside and inside panels together. Use the dimensions and supplied content in the linked assignment.
Read before arranging
The roughly 21-minute walkthrough uses Sketch, but its process applies in another design tool. It starts with the supplied copy, two marks, and three photos. Read all the words before deciding how much room each section needs.
Gather useful references
The instructor studies brochure layouts on Behance and separately looks for a color palette. One reference can help with arrangement and another with color. Save the links and explain which idea you are learning from rather than copying the whole design.
Build the outside, then the inside
Create color swatches. Arrange the outside image, logo, heading, and repeated colored shapes. A mask can show only the part of a picture that fits its area. Carry the same colors, heading styles, and shapes into the inside panels so the brochure feels connected.
The bottom row reduces the pages above it to rectangles. This helps you see layout without being distracted by the pictures or words.
Fit the real words
Separate headings and supporting paragraphs. Adjust the text-box width, line spacing, and paragraph breaks. Watch for uneven gaps running through the words, sometimes called rivers, especially when text is stretched to align both edges. Check all panels together, including the room around edges and folds.
Make careful production choices
The video fades a supplied badge while exploring appearance. On real work, first check whether marks or labels must stay a certain size or remain clearly visible. The supplied product copy is practice material; do not assume its claims are ready for current publication. For real printing, ask the printer for the actual size, margin, and production requirements. The walkthrough’s rough margin example is not a complete printing guide.